Printing, Photocopying & Scanning with PaperCut Hive
All printers and photocopiers in the school are managed through PaperCut Hive and your school Microsoft 365 account (your school email address).
Initial Setup
PaperCut Hive must be installed on every laptop or computer you intend to use for printing. Once installed and signed in with your school Microsoft 365 account, you are ready to print.
School Printers
You can release your print jobs at either of the school's multifunction devices:
- Main Office (Downstairs) – Colour printing and photocopying
- Staff Workroom (Top Floor) – Black & White printing and photocopying
Your PaperCut Release Code
Your secure PaperCut PIN is the first four digits of your PPS Number.
You will use this code to:
- Release print jobs
- Access photocopying functions
- Access scanning functions
Printing
- Open the document you wish to print.
- Select PaperCut Printer from the list of available printers.
- Click Print.
- Your print job is securely sent to the PaperCut Hive queue.
- Go to either printer and log in using your 4-digit PaperCut PIN.
- Select and release your print job.
Note: Printing to the PaperCut Printer makes your document available at both school printers, allowing you to collect it from the most convenient location.
Photocopying
- Log in to the device using your 4-digit PaperCut PIN.
- Select Copy.
- Choose the required settings (colour, black & white, double-sided, number of copies, etc.).
- Press Start to begin copying.
Scan to Email
The Scan to Email feature allows you to scan documents directly to your school email address.
- Place your pages in the document feeder or on the scanner glass.
- Log in to PaperCut using your 4-digit PIN.
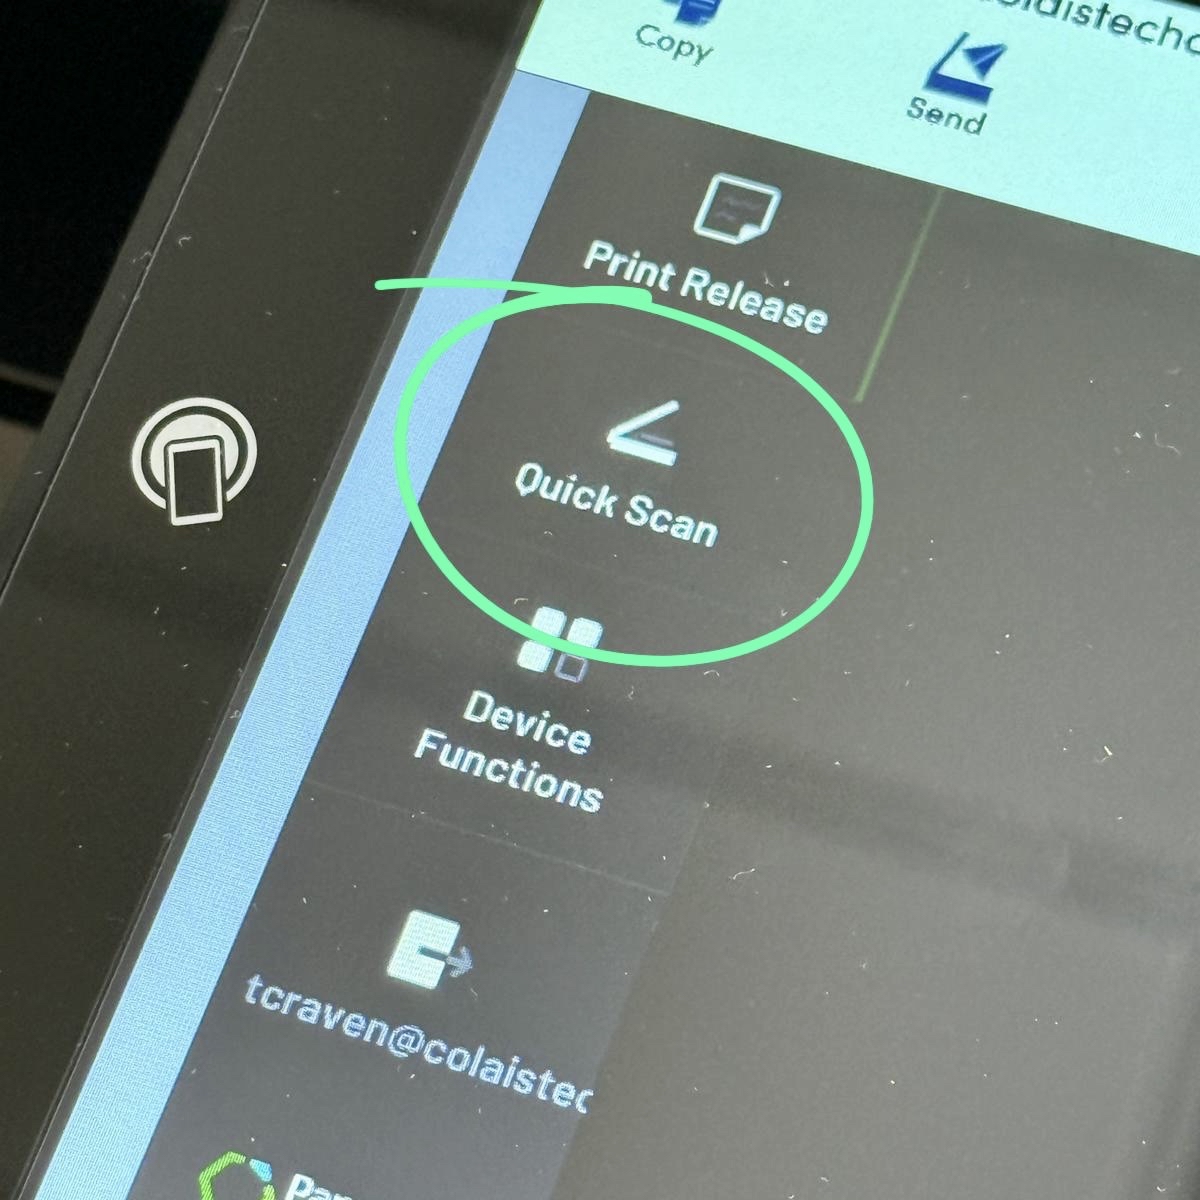
- Tap Quick Scan.
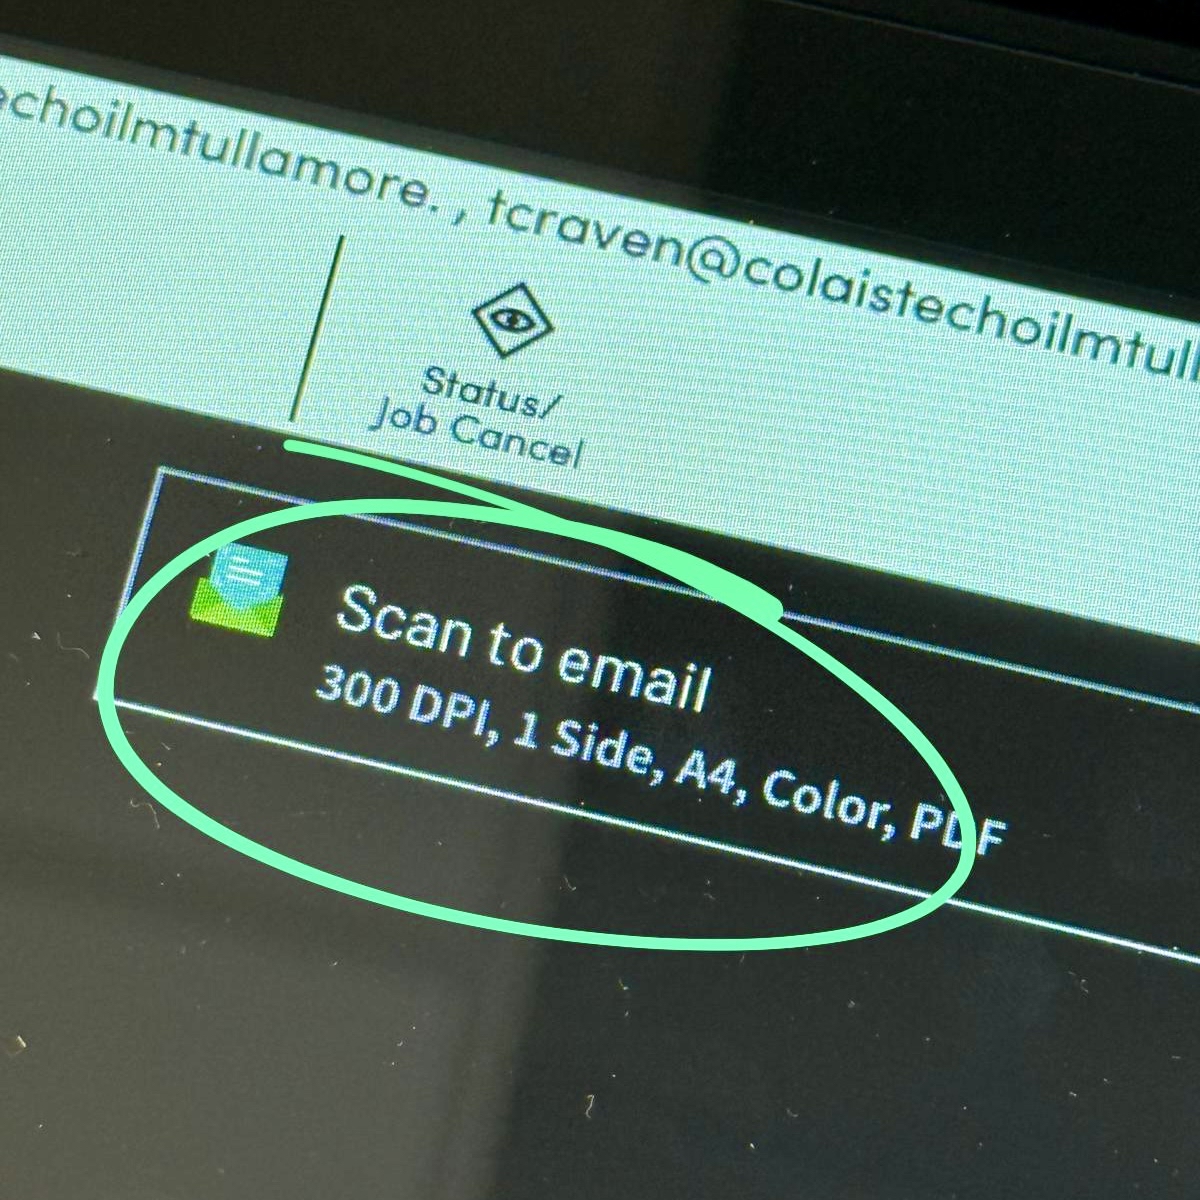
- Tap Scan to Email.
- Review any required scan settings.
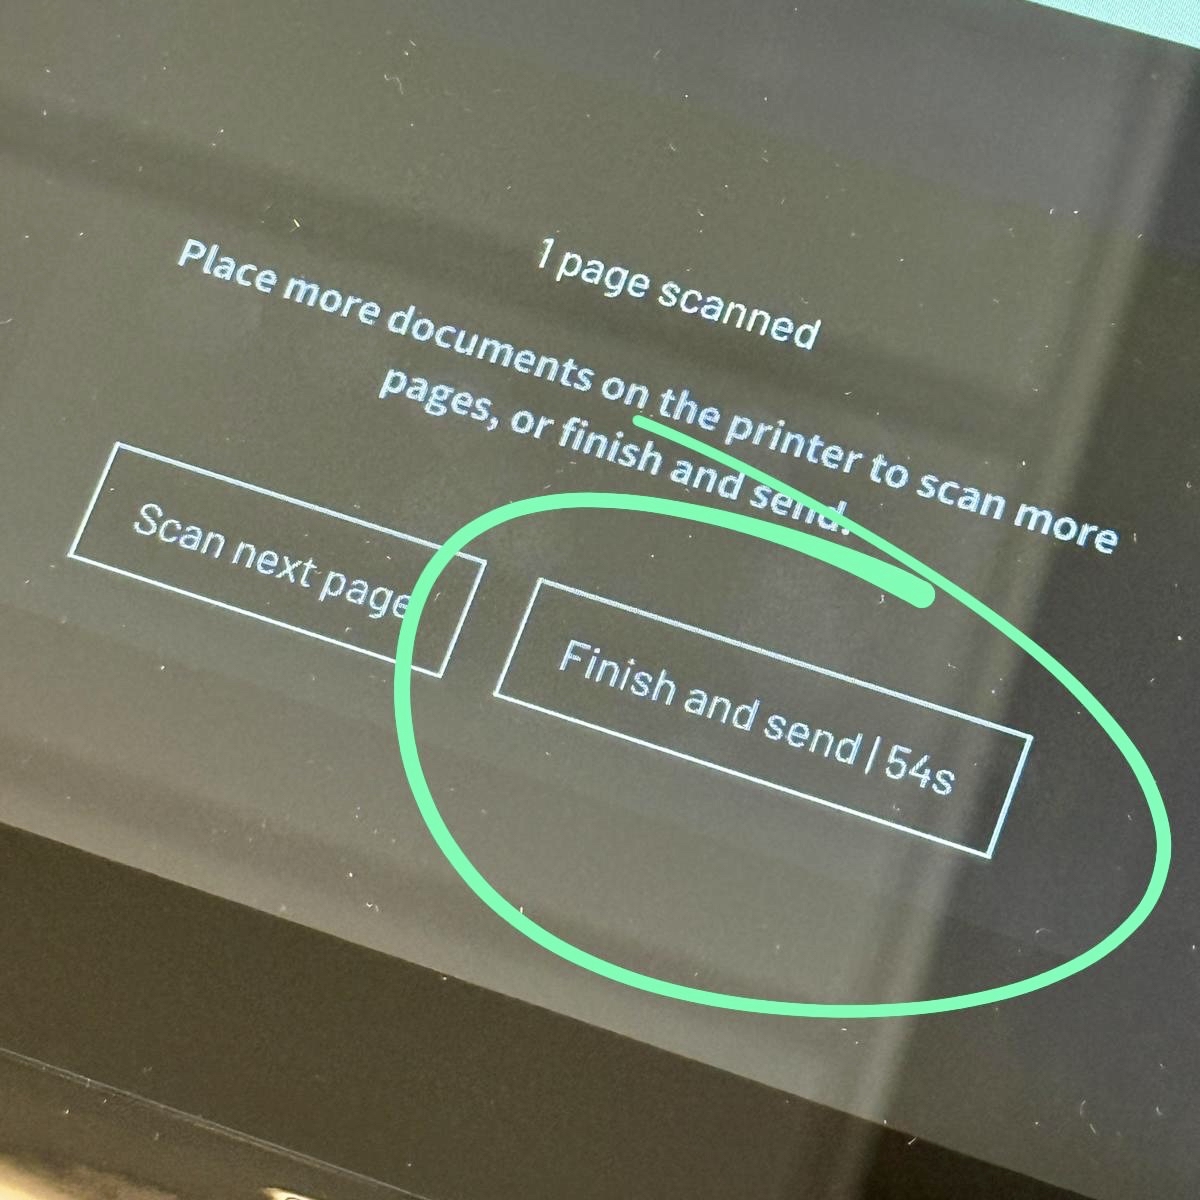
- Tap Finish and Send.
- The scanned document will be delivered directly to your school email inbox.
Illustrations of the login screen, print release screen, and Scan to Email workflow are provided below to guide you through the process.